Free Milky Way NightScapes Photography Lectures for Camera Clubs and Local Photography Groups.
Although I've been paid handsomely to give dozens of presentations over the years at photography conferences throughout the world, I often "give back" to our photography community with free lectures to local photography groups and camera clubs.
A typical astro-landscape photography presentation, with PowerPoint slides, runs about 45 minutes to an hour, followed by up to 30 minutes of Questions and Answers from the audience. My only pay-back is that the hosting organization allow me a 2-minute advertisement about my Milky Way NightScapes eBook, which can be purchased online (often with a special discount code for members of the hosting organization).
Typical Presentation Methods to Your Group. Your Choice Between:
- Zoom option 1: You provide the live Zoom connection. You are free to record the presentation and share it later to members who could not attend. Cost: No charge from me.
- Zoom option 2: I provide the live Zoom connection. I will also record it and post it to YouTube, where your member can access it after the live Zoom meeting. Cost: No charge for my presentation; however, there is a fee of fifty dollars to help pay for Zoom and uploading costs.
- In-person: I will come to your club or organization and make my presentation. Cost: No charge for my presentation; however, you must pay for my round trip transportation costs from Salt Lake City, UT USA; and lodging costs in your city.
Email to inquire about my available dates or to ask questions: orida70@gmail.com
Here are a few recorded examples of presentations I've given:
- Creating Natural NightScape Photos (a free presentation to a photo group)
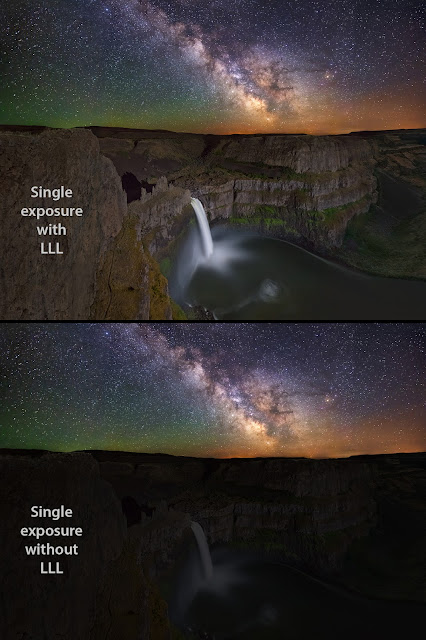
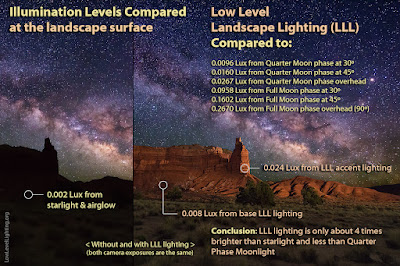
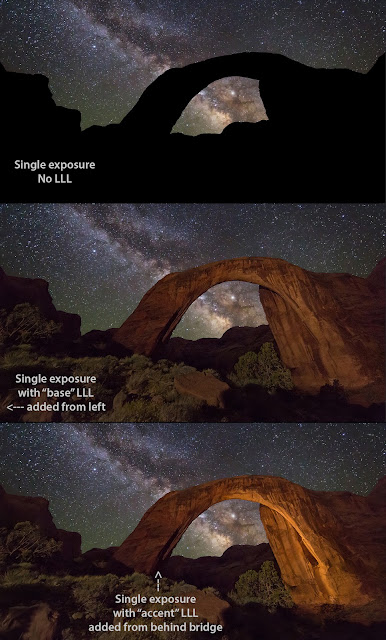
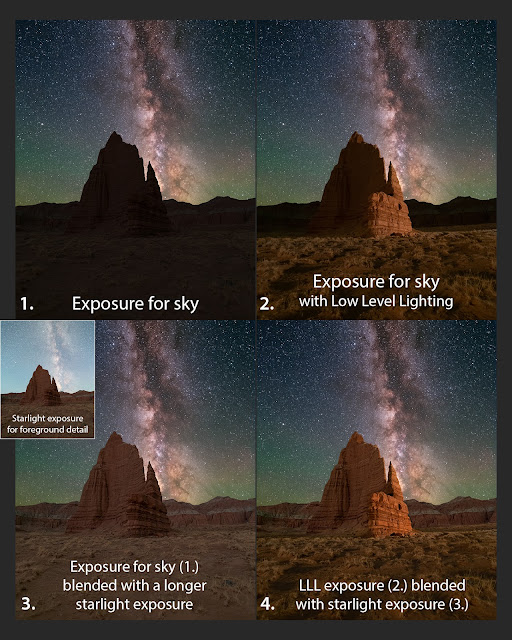
- Low-Level-lighting techniques for Milky Way Photography (A live Zoom class for PhotoPills)
- 'Simply Stunning' Single Exposures for 'Nightscape' Astro-landscape Photography (recorded for the 2023 Nightscaper Photo Conference)
- 6 Ways to Improve Your Nightscapes (recorded at the 2021 Nightscaper Conference)
Promoting Your Camera Club
 |
| Royce promoting a camera club lecture via a local TV show in Florida |
When I come to your area, I often help promote your local organization or camera club. Here, I'm on a local TV program in Florida promoting a presentation I'm going to give that weekend at a local camera club. My lecture was free to camera club members. The club charged a nominal fee to the general public—helping to bring in money to support the club's future programs. I also use my domain name "NightScapeEvents.com" to link up to the club's website or any other local astrophotography event I'm trying to help promote (that domain name goes to this blog page when there is not a current event scheduled).
 |
| Royce promoting a local event in Seattle, WA via a KING5 TV interview |
Image Critiques - Portfolio Reviews - Judging
When I do photography lectures I’m often asked to do image critiques as well. This is where each of the club or group members can submit a few digital images beforehand and have me critique the images in front of the whole group. The group usually benefits just as much as the photographers being critiqued.
More than nightscapes: In some gatherings I’m asked to do competition judging or portfolio reviews. In all cases, these images cover a wide variety of subjects and genres. That’s because I’ve not only had experience in nightscape photography, but I’ve spoken and judged multiple times for the Professional Photographers of America (and Canada), the PSA, and for the American Society of Media Photographers (ASMP).
My professional photography career has spanned over three decades in magazine, commercial, industrial, portrait and fine art photography. Besides being a full-time photographer, over the years, I've also been the CEO of a stock photo agency, a fine art printing company and an art gallery.
 |
| Royce has been doing magazine and commercial photography for over three decades. |
Here are some of the places where where I'm already scheduled to appear:
- Mar 6 • 7:00pm • via Zoom
- Albuquerque, NM USA
- Enchanted Lens Camera Club
- enchantedlens.org
- Membership required
- March 11 • 6:30pm MDT • via Zoom
- Fort Collins, CO USA
- Fort Collins Digital Camera Club
- fcdcc.com
- Membership required
- March 18 • 6:30pm MDT • via Zoom
- Littleton, CO USA
- Metro Denver Photography Group
- Meetup group event webpage
- Free online Zoom registration
- March 27 • 6:30pm PDT • via Zoom
- Los Angeles, CA USA
- Professional Photographers of Los Angeles County
- pplac.org
- Membership required
- April 8 • time to be announced • via Zoom
- Paso Robles, CA USA
- North Country Camera Club
- Facebook group page
- Membership required
- April 12 • 10:00 CT • via Zoom
- McKinney, TX USA
- Heard Nature Photographers
- heardnaturephotographers.com
- Membership required
- May 6 • 7:00pm • In-person
- West Jordan, UT USA
- SL County Library - Viridian
- thecountylibrary.org < register here
- FREE to the public
- June 4 • 7:00pm PDT • via Zoom
- Scotts Valley, CA USA
- Community of Digital Artists
- CODAsantacruz.com
- Membership required
- August 11 • 7:00pm EDT • via Zoom
- Statesville, NC USA
- Iredell Photography Club
- Facebook group page
- Membership required
- Feb 23, 2026 • 6:00pm MST • In-person
- Sedona, AZ USA
- Sedona Camera Club
- sedonacamera.club
- Membership required
What people are saying about my lectures:


